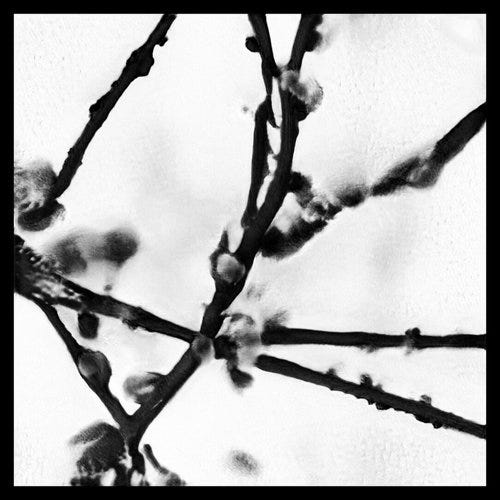
If you want to be an AI photographer I can help you with that. It’s not as futuristic as it sounds. I recently mentioned the way people made AI art back in the pre-Diffusion days of 2019, and how it sounds as archaic as developing your own film. On the heels of that comment, some people have asked: what was GAN photography? Here’s a short history of an archaic artform: the imagery of generative adversarial networks.
GANs were developed by NVIDIA in 2014 and began being used for images in 2017. I started using them in 2019. By 2022, Diffusion models — the Beatles of AI imagery — essentially rendered this form of image making obsolete. But it’s still worth knowing about and doing once or twice, because GANs show you the fundamentals of how AI image generation works. In that sense, it’s also like developing film to understand a digital camera. It helps.
You need to learn what the machine needs to work, which is helpful, because so often we think about algorithms as suggestions, as a thing that wants something. It’s silly to think about what a machine wants. Machines have needs, and they don’t tolerate ambiguity. My dog needs things, but she also wants things, while an AI has no desire for anything. But it needs things before it can do what we ask it to do.
If you want to be an AI photographer, you will learn to understand what the AI needs, and how to fill those needs. You will need a camera with enough memory to take at least 500 to 1500 photographs. At first you might think that’s just too many photographs for a human to take, but you’re wrong. It’s actually too few. Nonetheless, when you get out and start taking these photographs, you’ll find it isn’t hard to do.
That’s because you aren’t taking pictures of interesting things, you’re taking pictures of the space around interesting things. I’ve written about how to make the right kind of image before. You need to know that the AI is going to weigh everything in your photograph as a probability in relationship to everything else. Once you see the world through machine vision, you can quickly take 500 or even 5000 images. You don’t have to compose them, or find a subject. You want to find patterns.
Cleaning the Data
Once you get at least 500 images, it’s time to go home and open Photoshop or another image editing program of your choice. Ideally, it can do image macros. The AI needs the photos to be square shaped, 1024 x 1024 pixels wide. You can do this by putting all of the images in a folder, then recording a macro command. That’s basically like a video recording of the choices you make about how to edit the image. Except, instead of watching that video later, your photo imaging software does the thing you recorded. Automation means you can crop 500 images down to a square format 1024 x 1024 pixel image set as a batch instead of doing them one by one.
Photoshop used to ask you if you were sure about where to save every image, and the macro wouldn’t answer this, so you might have to sit there and click yes for all 500 images. I solved this by putting a clothespin on my Enter key. That video went viral on Twitter in 2019, and a lot of people told me that there were much more complicated ways to solve that problem, but the clothespin did the trick just as well.
Once you have these 500 images cropped, there’s another thing you can do. First, look at all of your images. If you did it right, they are all patterns. That means that, most of the time, you can reverse them. If you reverse them, you turn your data set from 500 images to 1000 images. And sometimes, you can also rotate them. If you rotate them once, you get another 500 images. But you might even be able to rotate them three times. That’s 1500 images, plus the reversed ones and your originals, and you have 2500 images. Then you can take the whole set, and zoom in on them 20%. That gives you 3000 images, though remember to crop this new batch down to 1024 x 1024.
Each of these decisions depends in what’s in the images, though. If your picture doesn’t look the same rotated as it does right-side-up, you’re going to distort the outputs. For example, if you rotate or reverse a patch of grass with leaves on it, you still have a patch of grass with leaves on it. If you rotate a cat, or a house, you’re going to have chimneys coming out of windows and cats with tails for heads.
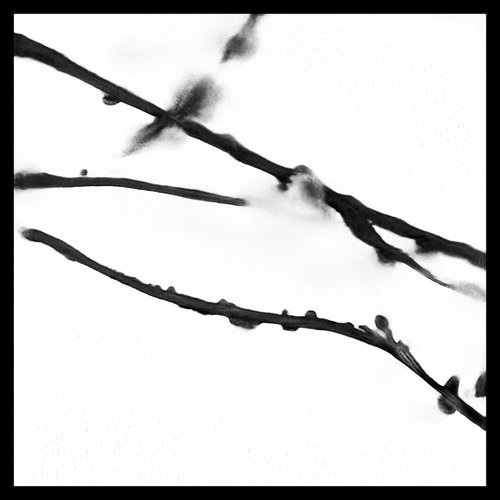
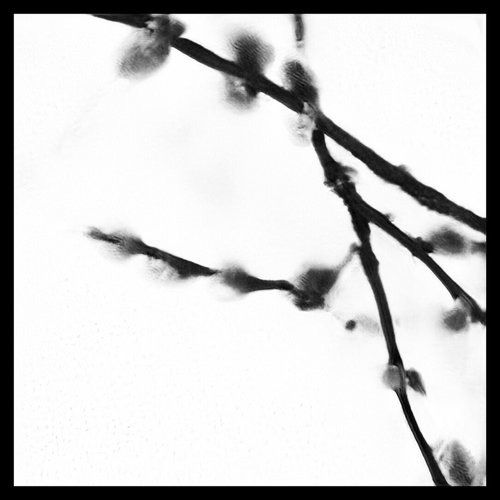
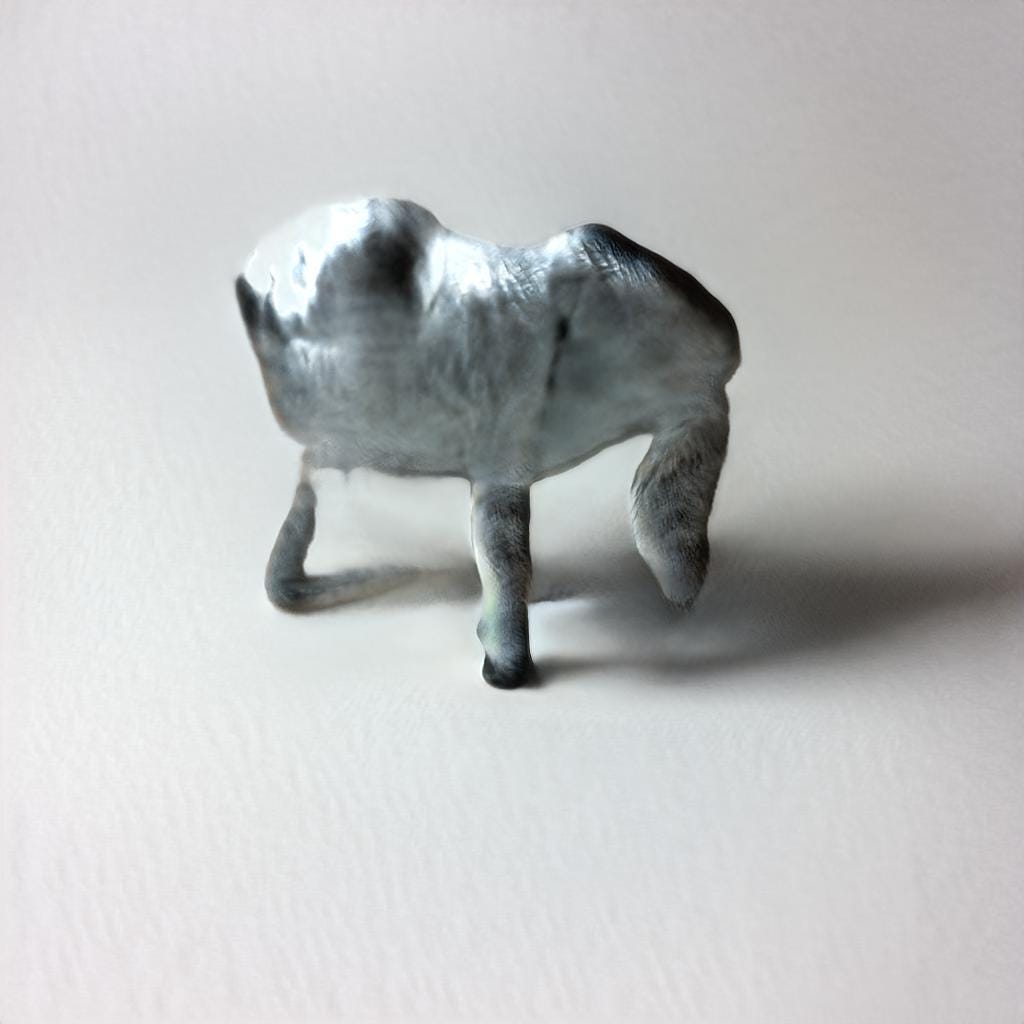
That’s why the photos you see above, of Pussy Willow branches, work. The images can be flipped into a good number of directions. But when I tried this with images of plastic animal figurines, it didn’t work as well. The heads and tails were too varied across images, so in this case, it cut them out altogether.
But maybe this is what you want, because you are an artist. That’s great, and you should do that. When you make art with datasets, you are steering the dataset. You never really control it, and can never know what it’s going to produce. But you can learn to anticipate it through practice. Then you can go out and steer that dataset with your camera, taking pictures that will lead to interesting distortions.
Training the Model
Once you have as many images as you can make, you can train the model. I use a shortcut here. There are a number of tools out there you can use for this, from Google Collab Notebooks to GitHub repositories to standalone software. For students, I like to use RunwayML, because you can push buttons to do things. Runway will let you see models that have already been trained, and you can take these models and continue to train them with your own dataset of images. To distinguish between training a model from scratch (which requires many more than 1500 images) I refer to this as priming the model: giving it enough recent data to bias the output toward these new images. That way, the model remembers what it has learned before, so you don’t have to train it from nothing. The compromise is that you will have residue of the old model come up from time to time.
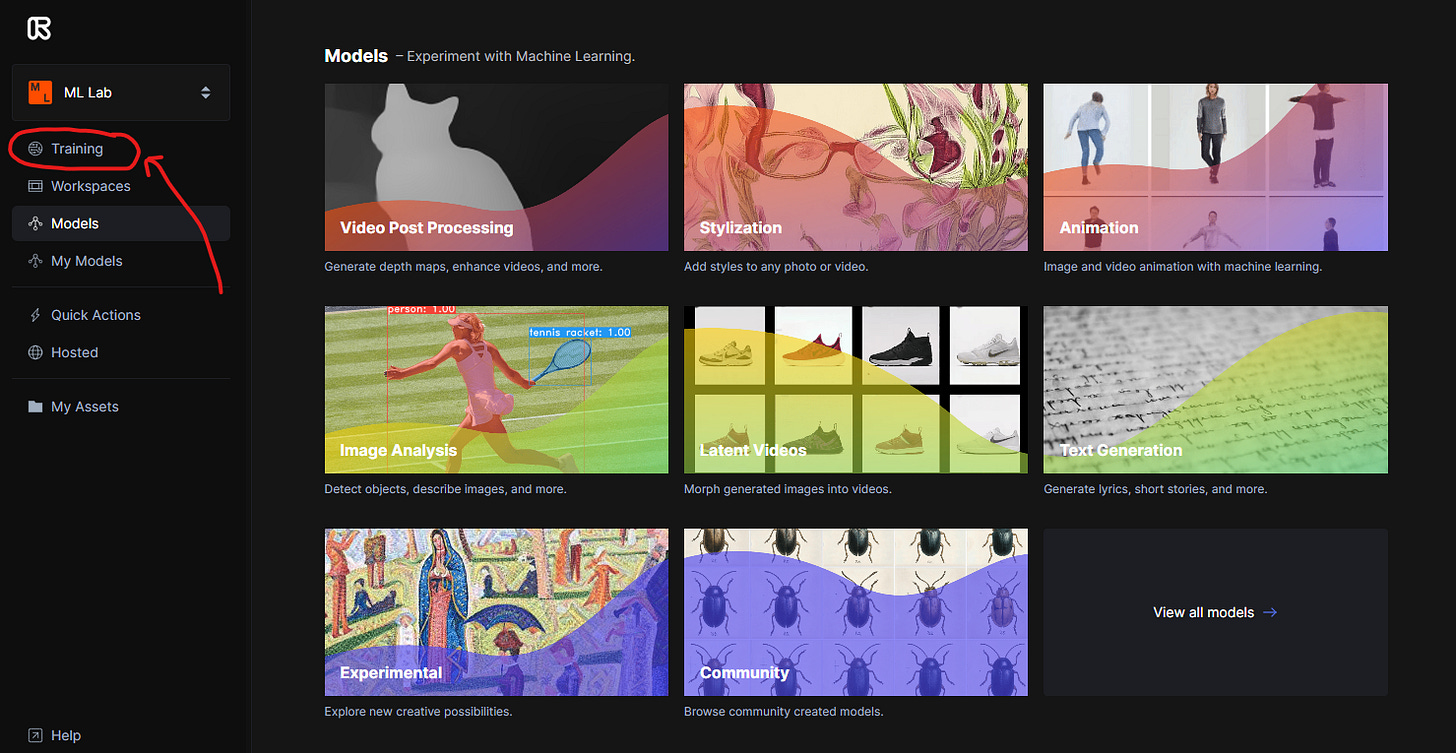
Here are some specific instructions. Put all of your training images into a Zip file. Once you are in RunwayML, you will look for the ML Lab, then choosing Training as an option on the right menu sidebar. Then click Image at the top of the new window. Then select New Experiment (name it) and upload your image folder. Upload the folder, then click Next. Then select Advanced and choose Faces. Faces gives you StyleGAN2, which is the highest resolution pre-trained model that you can build on. In the end, it’s going to look like whatever you trained it on most recently.
Here are some pictures.
Runway lets you set the number of training epochs, which I suggest could be anything from 2500 to 3000. More is not always better. Too many can narrow the variability of possible outcomes, because it’s found enough patterns to show just those patterns. Alternatively, not enough training and the images will be very low resolution and have more residue of faces in the training dataset, which could be interesting.
Training a set of images in this way for 3000 steps would cost you about $15 and take about two hours. That’s probably enough time to get up, make popcorn, watch All Light, Everywhere, and come back to see what your data just made.
Navigating Latent Space
When you return, the machines will show you the patterns it identified in your dataset through the act of creating new forms of images from those patterns. These will contain possibilities and distortions, gaps in understanding, the potential for curious alignments and rearrangements. They may be very dull, or abstract, or convincingly concrete. They might be garbage, though even the garbage is initially interesting.
In Runway, you will see these presented as one image from which variations cascade in all directions. These variations can be fine tuned: they can be slight or vast, depending on how you tune (or Truncate) them. The starting image is one fragment of the possibility space — or latent space. The images surrounding it drift from one space toward another. You can select slices of this map and save them as 1024 x 1024 snapshots of this section of possibility. Then you can regenerate new varieties of the space from a new seed, which will leap to some new possibility space in your model and cascade once again.
Conceptually, the best images are those that capture patterns that can be replicated by the machine, but also highlight some liability of the machine’s abstractions. I like natural patterns, because there is something conceptually interesting about modeling natural patterns in new arrangements through the intermediary of a machine. But I would encourage artists to think about how this form of media production introduces certain affordances and distortions. Then, think through what those distortions mean and how they happen, and how to visualize that secondary layer of meaning through the way you make the image.
Like any other medium, you have a certain set of affordances. Sonic stories favor audio, visual stories photography; if that story moves, then video. What is the story that you want to tell, and how does this process of data-driven, scaled image making help to tell that story? I suggest that if you want to make pictures, there are easier ways. But if you the presence of data is an aspect of your image story; or the presence of scale (archives, for example) then this may be a good medium for conveying that story.
If you follow these instructions, let me know. I’d love to see how they work for you and what you might decide to make.
Things I Have Been Doing This Week
If you’d like to listen to my conversation about AI, creativity & design with author and artist Carla Diana and SPACE10’s Alexandra Zenner and Ryan Sherman, you can find the recording through the button above or below (even if you don’t have a Twitter account!). We touched all sorts of ideas about AI’s creative space and the creative space’s response to AI.
Thanks for reading and I hope you’ll share and encourage others to read if you find the content useful or interesting. You can find me on Twitter at @e_salvaggio until it burns down. You can also find me on Mastodon: CyberneticForests@assemblag.es.


